Unlocking Spring Boot’s Scheduling Capabilities with @Scheduled
In many applications, performing tasks at regular intervals or specific times is a common requirement. Spring Boot offers a robust and flexible way to handle such scheduled tasks using the @Scheduled annotation. This feature is extremely useful for running periodic background tasks, such as generating reports, sending notifications, or cleaning up databases. In this article, we'll explore how to leverage the @Scheduled annotation in Spring Boot 3.x to implement scheduling tasks effectively.
Setting Up the Project
Create a new Spring Boot project using Spring Initializr with the following dependencies:
- Spring Web
- Spring Boot DevTools (optional, for easier development)
Adding Dependencies
Add the necessary dependencies to your pom.xml (for Maven) or build.gradle (for Gradle) file.
pom.xml:
<dependency>
    <groupId>org.springframework.boot</groupId>
    <artifactId>spring-boot-starter-web</artifactId>
</dependency>
<dependency>
    <groupId>org.springframework.boot</groupId>
    <artifactId>spring-boot-devtools</artifactId>
    <optional>true</optional>
</dependency>
build.gradle:
dependencies {
    implementation 'org.springframework.boot:spring-boot-starter-web'
    developmentOnly 'org.springframework.boot:spring-boot-devtools'
}
Enabling Scheduling
To enable scheduling in your Spring Boot application, add the @EnableScheduling annotation to your main application class.
DemoApplication.java:
import org.springframework.boot.SpringApplication;
import org.springframework.boot.autoconfigure.SpringBootApplication;
import org.springframework.scheduling.annotation.EnableScheduling;

@SpringBootApplication
@EnableScheduling
public class DemoApplication {
    public static void main(String[] args) {
        SpringApplication.run(DemoApplication.class, args);
    }
}
Creating a Scheduled Task
Create a service class and annotate a method with @Scheduled to define a scheduled task.
ScheduledTasks.java:
import org.springframework.scheduling.annotation.Scheduled;
import org.springframework.stereotype.Service;
import java.time.LocalDateTime;

@Service
public class ScheduledTasks {

    @Scheduled(fixedRate = 5000)
    public void performTask() {
        System.out.println("Fixed rate task - " + LocalDateTime.now());
    }

    @Scheduled(fixedDelay = 7000)
    public void performTaskWithFixedDelay() {
        System.out.println("Fixed delay task - " + LocalDateTime.now());
    }

    @Scheduled(cron = "0 * * * * ?")
    public void performTaskWithCronExpression() {
        System.out.println("Cron expression task - " + LocalDateTime.now());
    }
}
In this example:
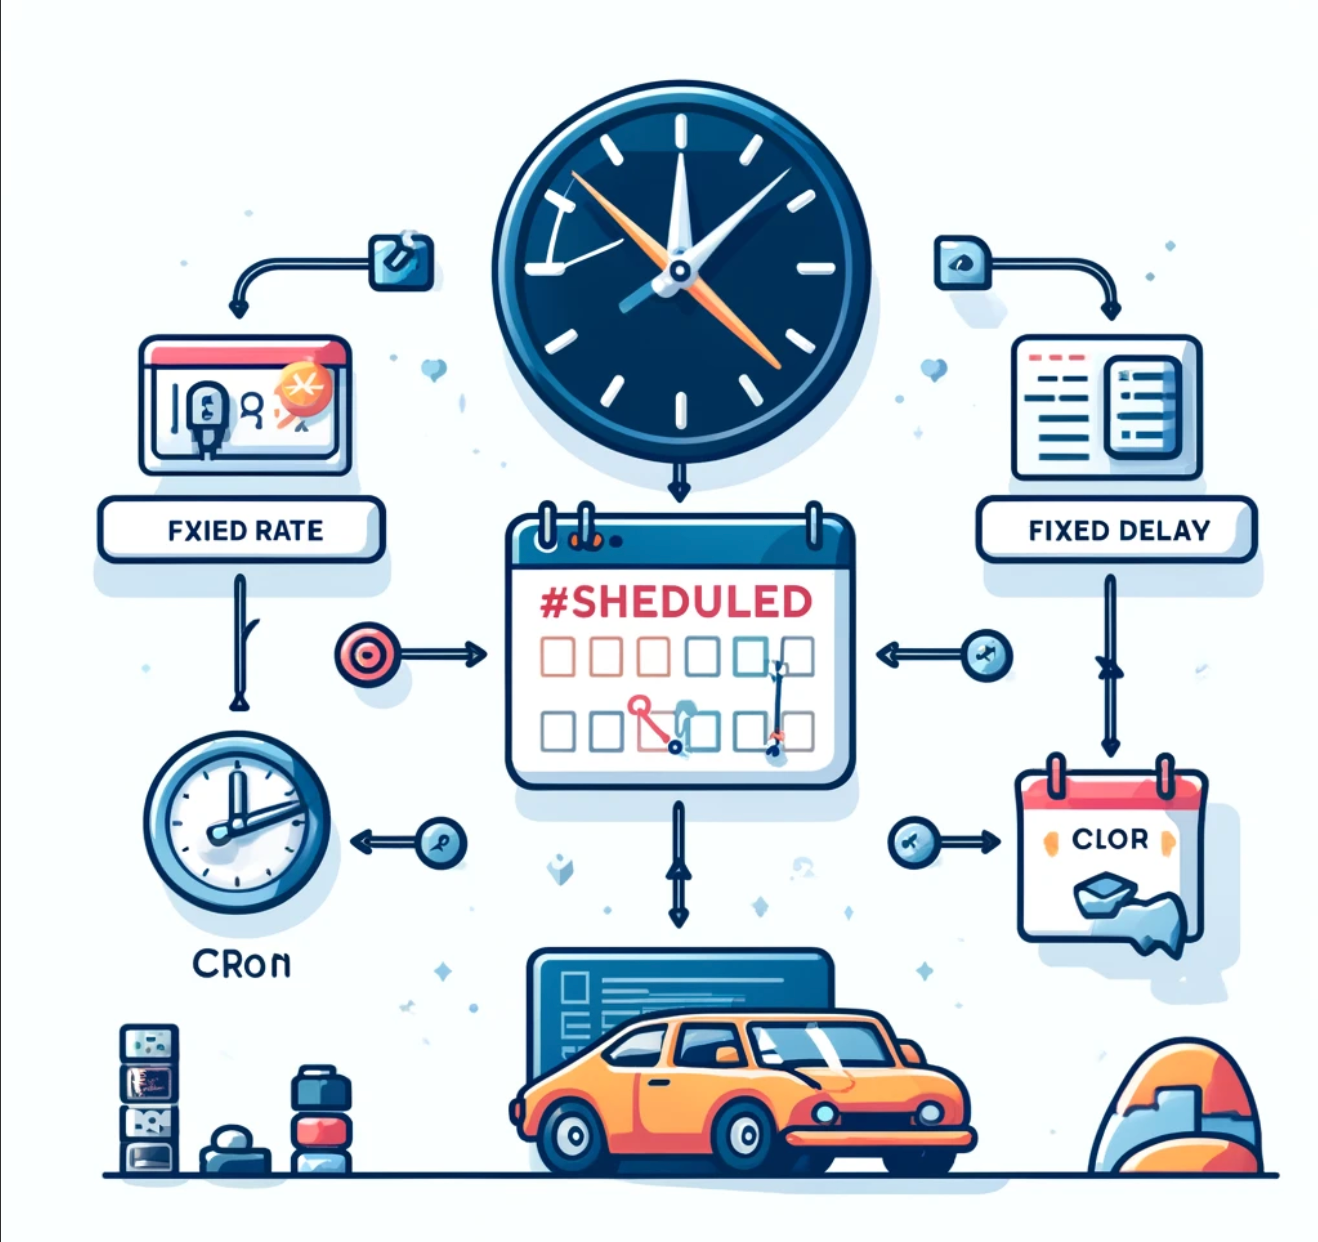
performTaskruns every 5000 milliseconds (5 seconds) usingfixedRate.performTaskWithFixedDelayruns 7000 milliseconds (7 seconds) after the previous execution completes usingfixedDelay.performTaskWithCronExpressionruns at the start of every minute using a cron expression.
Configuring Task Scheduling
You can configure task scheduling properties in your application.properties or application.yml file for more control.
application.properties:
spring.task.scheduling.pool.size=10application.yml:
spring:
  task:
    scheduling:
      pool:
        size: 10
These configurations adjust the pool size for the scheduler, allowing it to handle multiple concurrent tasks.
Testing the Scheduled Tasks
Run your Spring Boot application. You should see the output of the scheduled tasks in the console according to the defined intervals.
Handling Long-Running Tasks
For long-running tasks, it’s important to manage concurrency and ensure that tasks do not overlap. Spring Boot provides built-in mechanisms to handle such scenarios.
ConcurrentTaskSchedulerConfig.java:
import org.springframework.context.annotation.Bean;
import org.springframework.context.annotation.Configuration;
import org.springframework.scheduling.concurrent.ThreadPoolTaskScheduler;

@Configuration
public class ConcurrentTaskSchedulerConfig {

    @Bean
    public ThreadPoolTaskScheduler taskScheduler() {
        ThreadPoolTaskScheduler scheduler = new ThreadPoolTaskScheduler();
        scheduler.setPoolSize(5);
        scheduler.setThreadNamePrefix("scheduled-task-");
        scheduler.setAwaitTerminationSeconds(60);
        scheduler.setWaitForTasksToCompleteOnShutdown(true);
        return scheduler;
    }
}
In this configuration:
ThreadPoolTaskScheduleris configured with a pool size, thread name prefix, and shutdown settings to manage concurrent tasks effectively.
Conclusion
Using the @Scheduled annotation in Spring Boot 3.x, you can easily implement robust scheduling capabilities for your application. This allows you to automate repetitive tasks, improve efficiency, and ensure timely execution of critical processes. By configuring task scheduling properties and handling concurrency, you can optimize the performance and reliability of your scheduled tasks.
Explore further enhancements, such as error handling, task prioritization, and dynamic scheduling, to fully leverage Spring Boot’s scheduling capabilities. Happy coding!
This tutorial was generated using ChatGPT, specifically the Master Spring TER model. For more information, visit ChatGPT Master Spring TER.
